Custom Luxury Boxes Rigid Gift Boxes
Luxury rigid gift boxes are widely used in cosmetics, perfumes, jewelry, and premium retail packaging. For packaging designers, brand managers, or buyers, understanding the production process of rigid boxes not only helps in quality control but also in making better design and material decisions.
This article provides a step-by-step guide to the manufacturing process of luxury rigid gift boxes, from design to final inspection.
Why Learn the Luxury Boxes Rigid Gift Boxes Production Process?
- For brands: Ensures the packaging reflects brand identity and enhances customer unboxing experience.
- For buyers: Helps evaluate supplier capability and production quality.
- For packaging designers: Provides technical knowledge to create feasible and cost-effective designs.
Step-by-Step Production Process of Custom Luxury Boxes Rigid Gift Boxes
01. Design & Die-line Development
The process begins with structural design. Engineers draw precise die lines according to the product’s dimensions. Graphic designers then add creative elements such as:
- Brand logo
- Printing patterns
- Decorative finishes (foil stamping, embossing, spot UV)
👉 This stage ensures both functionality (fit & protection) and aesthetic appeal.
02. Printing
Rigid box printing typically uses:
- CMYK offset printing for detailed graphics
- PMS (Pantone Matching System) for brand colors
- UV printing for high-gloss effects
✅ High-quality, eco-friendly inks are applied to guarantee color accuracy and sustainability.
03. Surface Finishing
After printing, surface finishing enhances both look and feel:
- Matte or Gloss Lamination → Smooth & protective surface
- Soft-touch Coating → Luxury texture
- Varnishing / Spot UV → Highlight specific elements
👉 Proper finishing improves durability, scratch resistance, and brand premium perception.
(For more details, see our guide on surface finishing options for packaging.)
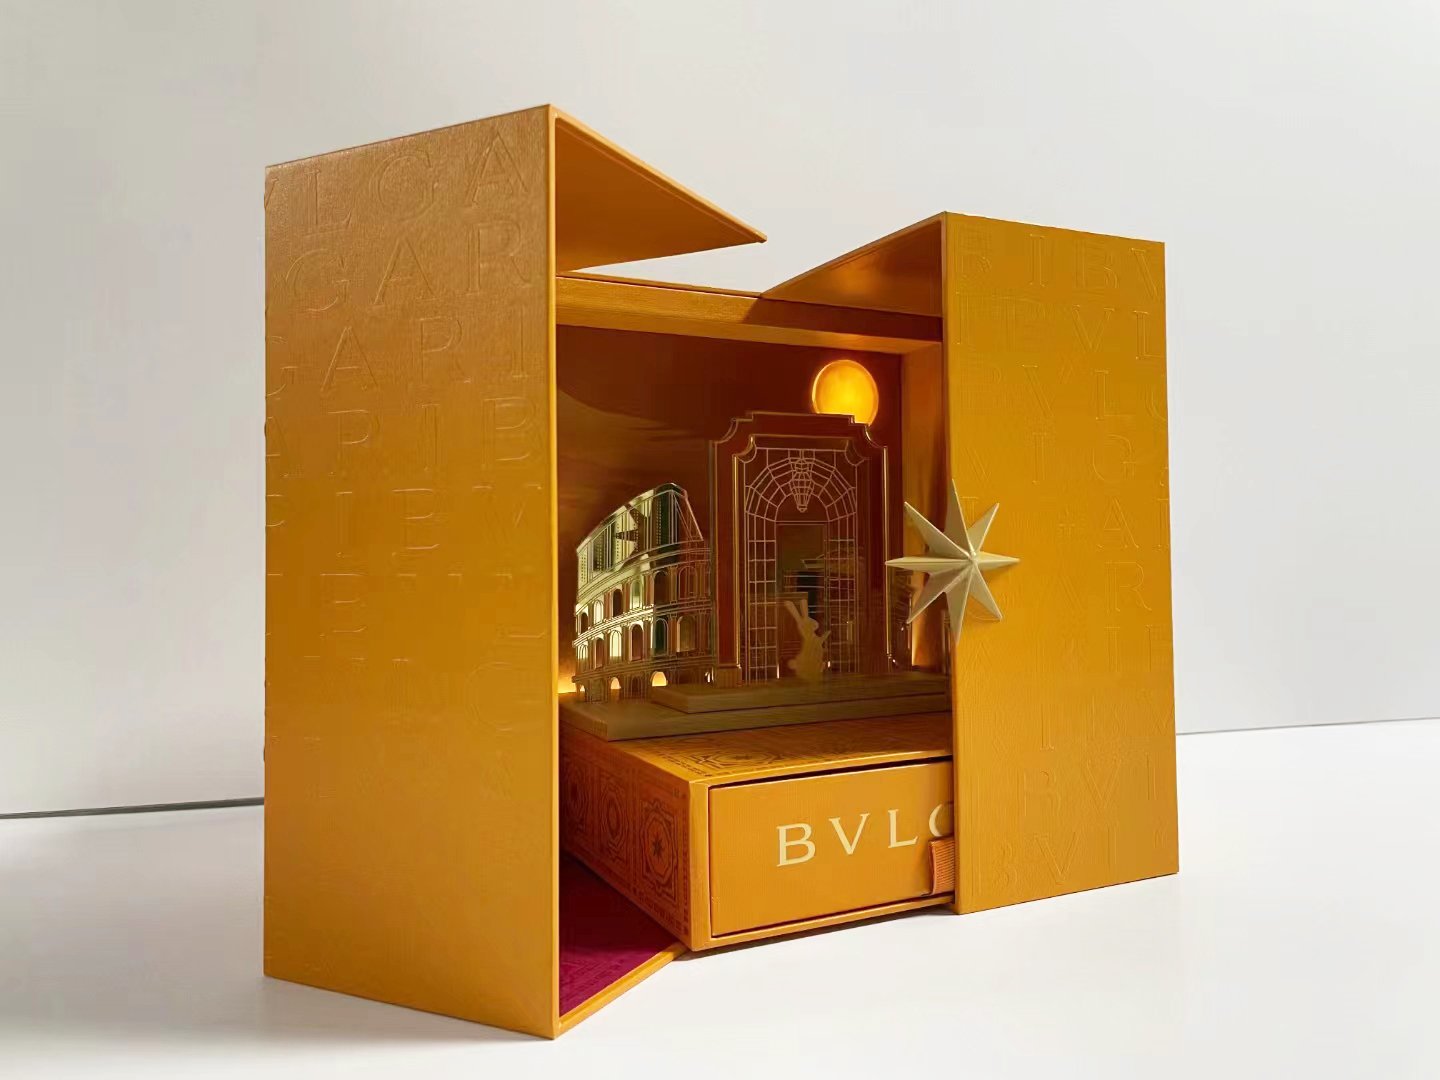
04. Logo Finishing
A luxury rigid box logo is the focal point of brand identity. Common logo finishes include:
- Hot foil stamping (gold, silver, metallic)
- Embossing / Debossing
- 3D UV finishing
💡 A well-finished logo instantly communicates luxury, authenticity, and brand value.
05. Die-Cutting & Grayboard Preparation
- Printed paper is die-cut into accurate shapes.
- Rigid grayboard (usually 1200–2000 gsm) is cut and slotted to form the strong structure of the box.
This step determines the stability and durability of the packaging.
06. Wrapping (Paper Lamination on Grayboard)
Printed paper is wrapped and glued onto grayboard, either by:
- Automatic wrapping machines (efficient for large orders)
- Hand craftsmanship (preferred for small batch luxury projects)
👉 This process gives the rigid box its final shape and premium look.
07. Assembly
Once the main body is completed, additional components may be added:
- Lids and bases
- Ribbon closures
- EVA or foam inserts (for protection)
- Magnetic closures or hidden flaps
This stage defines the functionality and customer experience of the box.
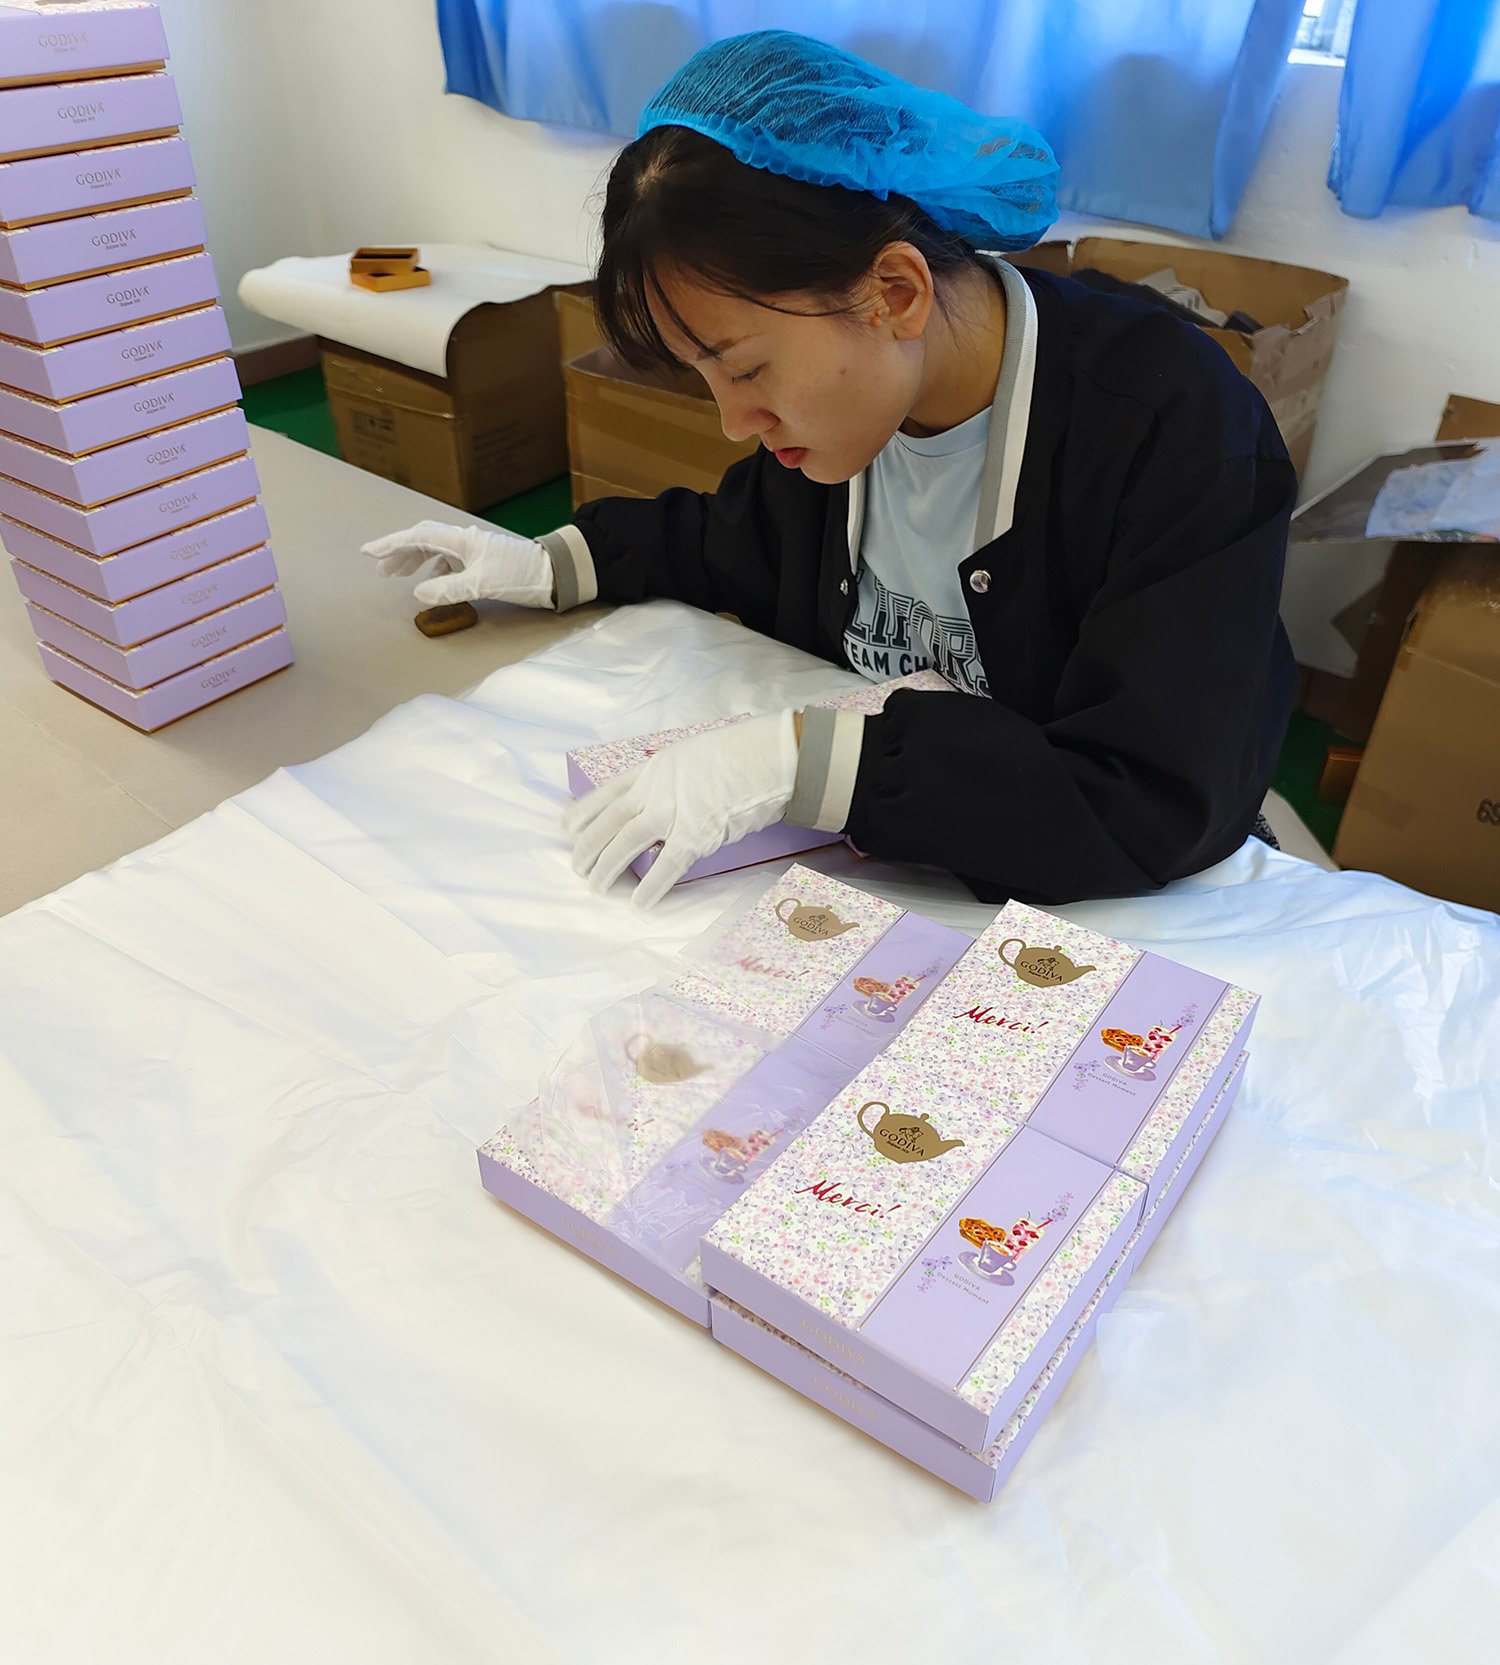
08. Quality Control & Packing
Strict quality inspection is performed to check:
- Surface finishing quality
- Structural strength
- Color accuracy
- Logo placement
Finally, the boxes are carefully packed and shipped, meeting international packaging standards.
Related Articles
- Surface Finishing Techniques for Paper Packaging
- Logo Finishes: How to Elevate Your Packaging Design
- Eco-Friendly Luxury Packaging Materials
📩 Let’s talk about your project Now! 💬